By Blue Nile Home Services
•
July 6, 2022
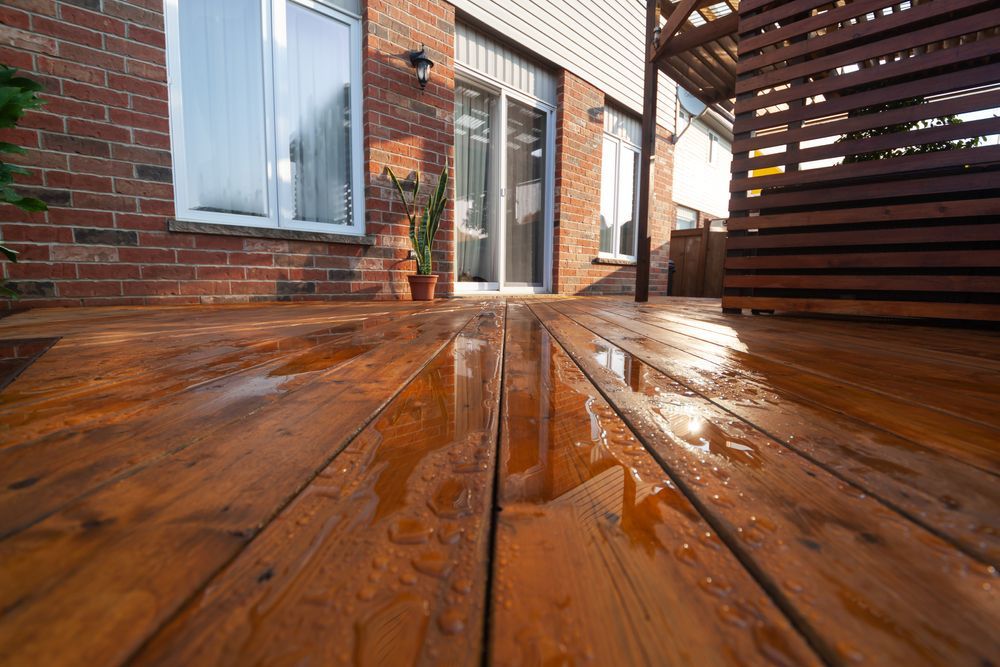
So you wan’t to rejuvenate that old deck of yours? Trust me, we understand that having a dull, chipping & dilapidated deck is no fun thing – especially if it attacks you with painful splinters. We can’t stand splinters and fading stain, and that’s why we take extra steps to bring our client’s decks back to life! For this blog though, I will be showing you how you can take on the challenge yourself if your feeling up to it. Let’s get started on this DIY blog of how to stain a wood deck. Gather Your Materials There are several tools that you may want to consider renting, buying, or borrowing for this process. Otherwise, the work will undoubtedly break your back and you’ll be sore for days. All joking aside, consider taking a look at these helpful tools listed below: A Pressure Washer Stain Pad Applicator or RenuVo Stain Applicator Deck Brush & Hand Deck Scrubbing Brush A Stain Brush A Paint Tray A Good Orbital Sander or The Mack Daddy Orbital Sander 80 Grit Sandpaper & 150 Grit Sandpaper Deep Cleaning The Deck Once you’ve sourced your tools and materials and have everything on the job site & ready to go, it’s time to scrub and dub. But before you start applying any chemicals on anything, consider this pro tip: sprinkle water around the periphery of the deck on your grass and plants. When you spray or lay on your chemicals, some of the substance with invariably splatter on your yard and declare war on your grass. The water will help dilute the chemicals and shield your beautiful yard from damage. Now your first step is to spray off the deck only using water. Make sure to get all of the surfaces wet. Next, you’re going to use a general deck cleaner & protectant to clean up the grime. If you’re using your pressure washer to spray this on, you can mix in the cleaner with a syphon tube in a 10:1 ratio (use a low pressure nozzle for this). Here is a helpful video for doing this: How to Stain a Deck the Easy Way . If you are not using a pressure washer, you can use a handheld sprayer for this. Spraying And Scrubbing Off The Deck Cleaner As the adage goes, “good things take time”. This couldn’t be any more true with woodwork. Let the chemicals sit on the deck for at least 10 minutes before you wash it off. This will allow the chemicals to penetrate the dirt, grime, mold, and grease that has built up on the deck, therefore loosening it from the surface enough to allow it to be sprayed or scrubbed right off in the next step. Well, that brings us to the next step then. How convenient! It’s time to put that elbow grease to work. Use your deck scrubber and pole to work out the nasties that have been loosened up by the degreaser. Use a hand scrubber (or simply detach the deck scrubber from the pole) to scrub the spindles and rails. Once you’ve done this, switch to a high pressure nozzle on the pressure washer and spray all of the chemicals off. Remember, keep the tip of the sprayer at least 8 inches away from the surfaces. If you like your deck and don’t want to chip away the wood, make sure to do this. Using A Deck Brightener Great job, you’ve completed the first couple steps in your deck refinishing journey. Now, this next step is optional, but if you want a great end product then it is highly recommended. This step is actually very similar to the last, but instead of using a general degreaser, you will use a brightener like this one from #1 Deck . Simply apply the brightener like you would the general cleaning solution across every surface of the deck. Make sure that you spray the deck with water first and get all of the surfaces wet. When applying to vertical surfaces, apply it from bottom to top. Also, good news! You get a break from using that elbow grease on this one. It’s not necessary to scrub away this solution. Instead, let it sit for 10-15 minutes so that it can penetrate the wood and then wash it away with the high pressure nozzle or water hose. You’re off to a great start! Now it’s time for the next step. Sanding Down The Uneven Surfaces Beyond just taking care of splinters, sanding your deck down will produce a much more consistent stain pattern – given you apply the stain correctly. The deck should be dry to the touch before you start sanding, or you’ll create a thousand problems you don’t want to have. You’ll want to spend the majority of your time sanding the handrails and the places you will touch with your hands or rest your arms. It is not necessary to sand the surface deck boards as thoroughly as you sand the handrails, but you do want to sand it enough to get rid of rough patches. Use a great orbital sander like this Dewalt 5 inch orbital sander for this process, or if you want to go overboard and make your life 10 times easier, try out this Rigid 6 inch orbital sander . For the spindles, use 80 grit or 150 grit hand sandpaper. Once everything is sanded down and looking clean, you’re ready to stain! Staining The Wood There are many methods to applying stain to wood, and this process that I’m about to lay out will save you a lot of trouble if you follow it. Don’t get discouraged when you lay down the first coat of stain and it doesn’t look like a million bucks, this is normal, the second coat is where the magic happens. Check out this blog on the best stain options of 2022 . We really, really like Thompson’s Stain & Seal , these product are amazing. Consider using this RenuVo Stain Applicator that I mentioned earlier to stain the surface deck boards, it’ll save you a lot of trouble, trust me. Everybody has different methods on the order of staining, but I’ll go ahead and tell you that you should start with the spindles, working your way from the bottom to the top, and then stain the handrails. You can use a brush and a stain pad for this, or you can use one of these bad boys: Wagner Handheld Sprayer . Also, get the edge of the deck boards in between the spindles during this process so that when you start staining the surface boards you won’t have to get into the crevices. Work your way from the far corner to the stairs, moving backwards and staining 2 to 3 boards per run. Once you reach the stairs, hand stain the vertical areas and then use the applicator to stain the flat parts. Now that you’ve got one coat on, let it dry to the touch and repeat! Time To Admire Your Work Great job, you’ve just learned how to stain a deck from start to finish. If you love hard work and have a steady supply of patience, then this DIY job is for you! Deck staining can be a very enjoyable process if you have all the tools and knowledge that you need to get the job done. Figuring it out along the way will cause a migraine or 10. But, if you follow this guide, you’re sure to have a massive head start. If you’ve read this and you’d rather have a pro do the work for you, just call Carpenter at (843) 310-1074 ! Thanks for reading this DIY guide on how to stain a wood deck. See you next time.
