Four Steps On How To Refinish A Wooden Door

Refinishing your front door & entranceway may not be as straightforward as you may think. It sounds relatively easy. All you have to do is sand, stain, and seal it right? While that essentially covers the process it is the minutia, those small missed details, that will come back to haunt you later in the process. It turns out that in order to properly refinish a wooden door, you need to take it in four important steps that protect your property and produce a great end product. Let’s get started with the four steps on how to refinish a wooden door.
Ready The Sander
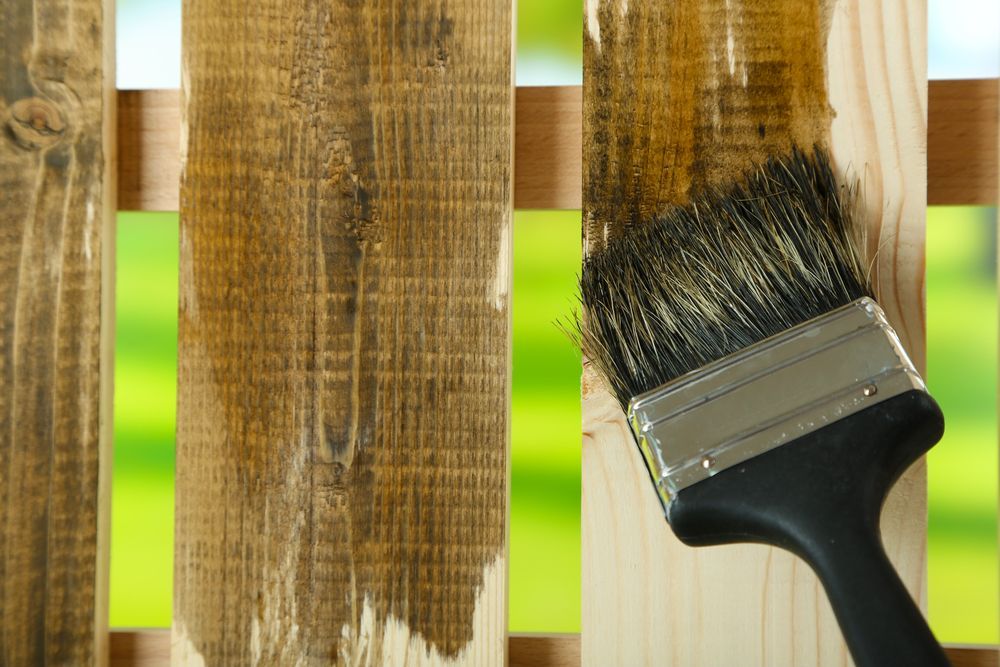
Typically, before you sand the door down to bare wood, you want to mask the window panes with tape so that the sandpaper does not scrape against the glass. This keeps your windows protected because, as you know, they are not cheap to replace. When sanding down a wooden surface, you should check to see how much you really need to sand down. If you are doing a full color change, especially if you are going from dark to light, you will need to sand down to bare wood. On the other hand, if you are staying in the same color tone, then you will only need to cut through the last clear coat and smooth out the surface to reapply a fresh coat of stain.
For the fine details (meaning the trim, the grooves, and the molding) we like to use scrapers like this Bahco 665 or this Allway Contour Scraping Set to cut through the clear coat and then smooth it out with 150 grit sandpaper. When finished, the door should be consistently sanded down across the entire surface. Any sections that gleam in the light still have clear coat on them and you will need to work those out before you apply stain. Once you have the door sanded down evenly, it’s time to mask. Oh, I almost forgot, here is a super helpful video on how to use an orbital sander.
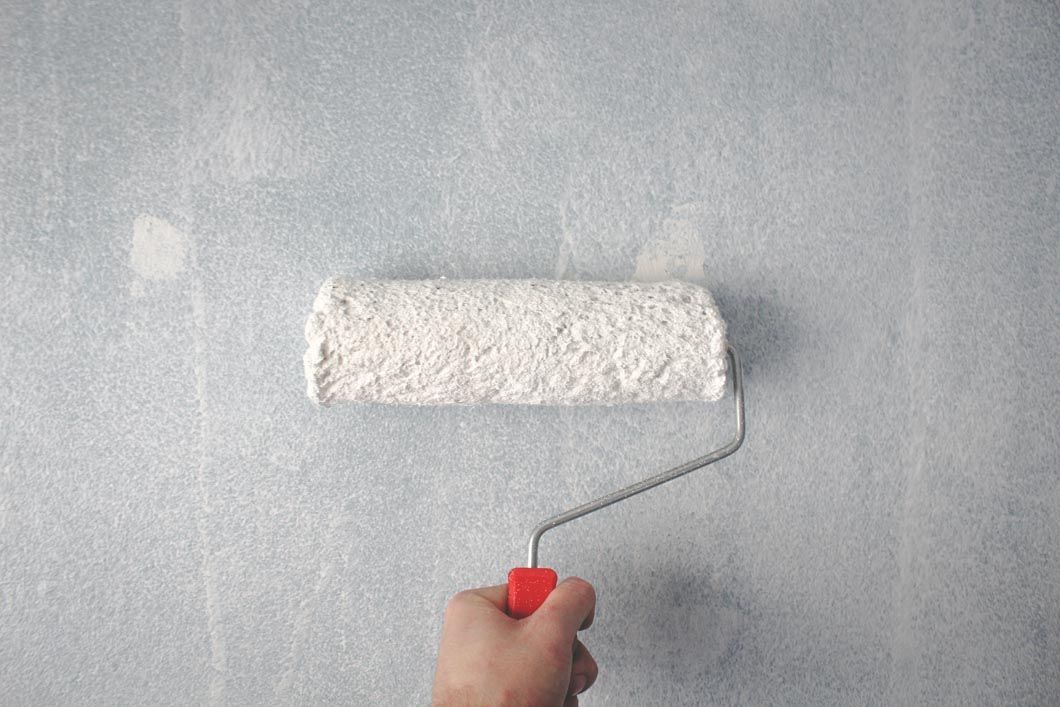
It’s Masking Time.
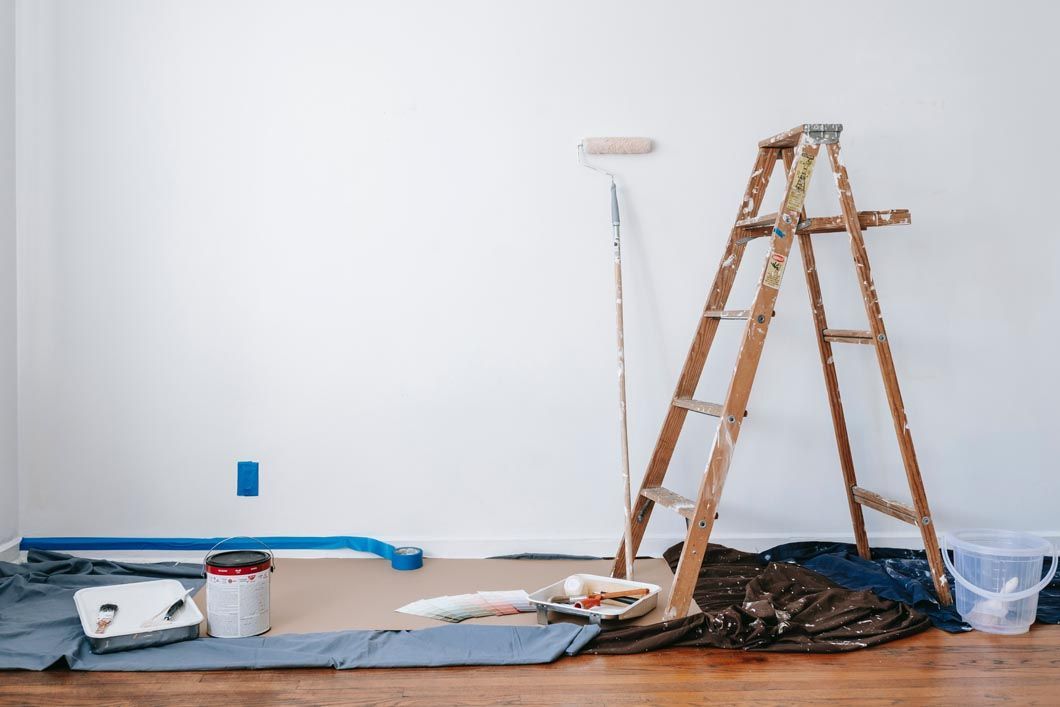
The materials you will need to properly mask go as follows: Frog tape, blue Scotch Tape, a roll of corrugated cardboard, masking paper, a hand-masker, and a roll of plastic sheeting. Use the roll of cardboard to mask the surface of your patio and inside your home to keep stain droplets from causing you a massive headache. Make sure you tape the cardboard securely to the ground with the blue scotch tape. Next, run either the frog tape or the scotch tape (depending on the surface) around the perimeter of the door. The frog tape is used for delicate surfaces, like your indoor walls, so that the paint will not strip when you remove the masking. Make sure the knobs and locks are fully covered with scotch tape. Use strips of masking paper to shield the window panes. Finally, if you are spraying clear coat with an applicator, you will need to prop the door open with door stops and drape plastic from the inside of the house in order to keep the fumes outside. Once you have it fully masked, it’s time for the next step!
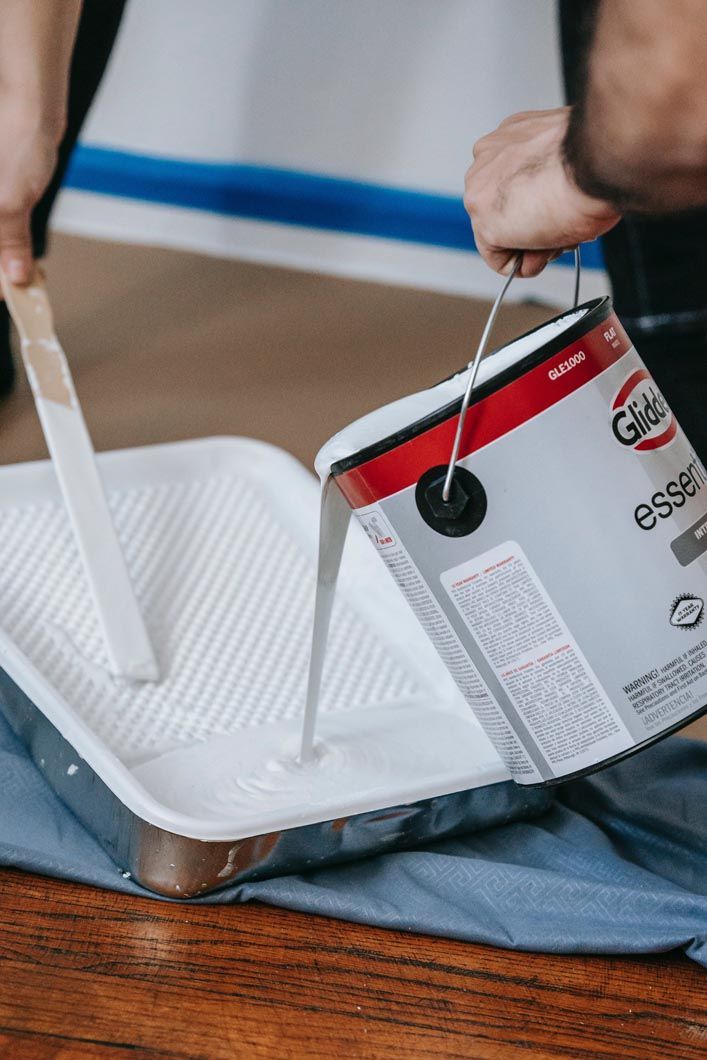
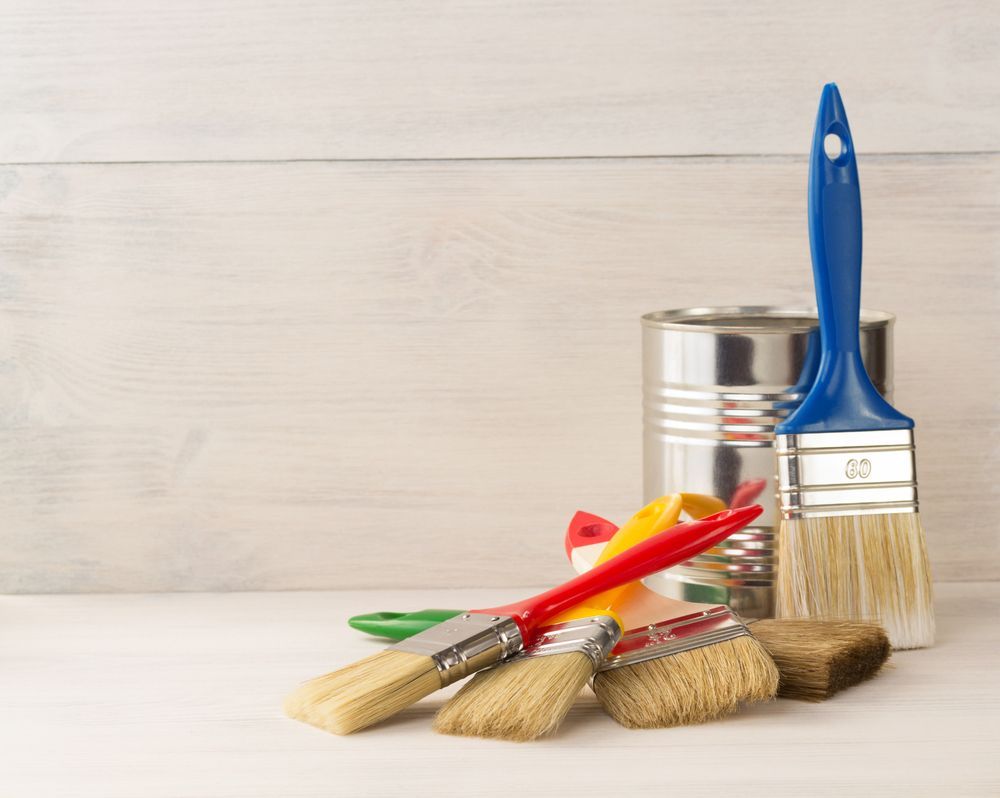
Ready, Set, Stain
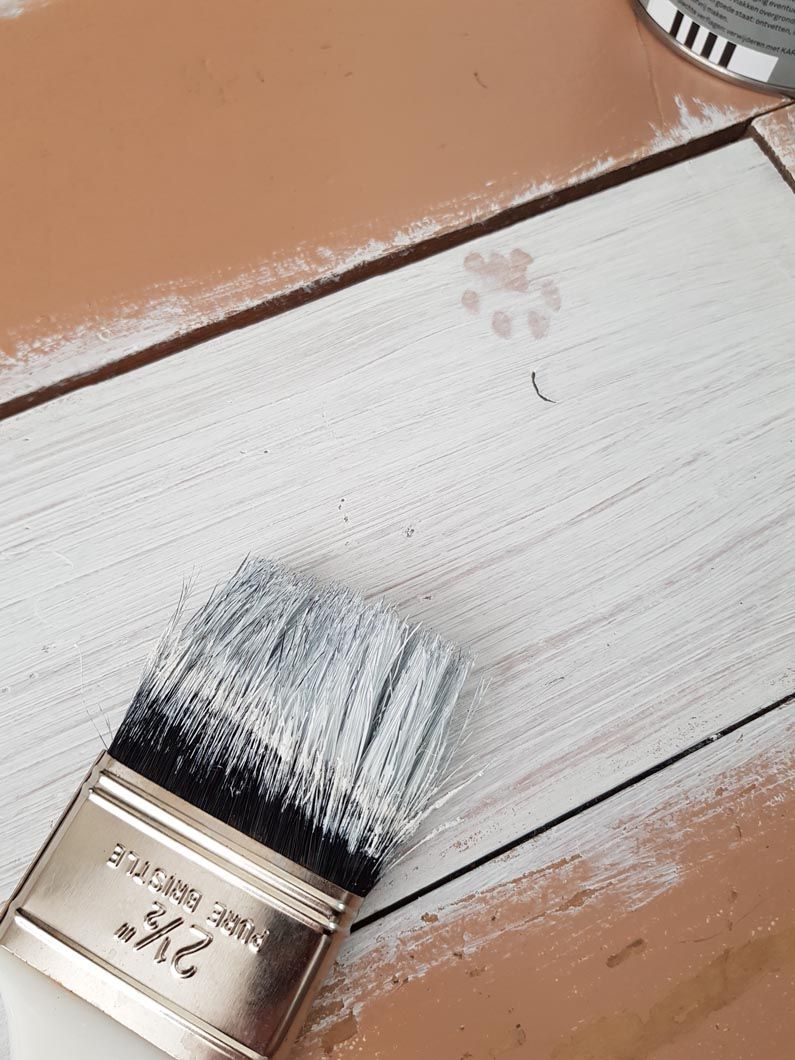
This step in the process can either be very enjoyable or big pain in the rear end. It comes down the what you use to apply the stain, how you apply the stain, and whether or not you keep your patience. Staining is a delicate job that requires experience to do correctly, so take your time. We use Terry Cloth stain pads to apply our stain. Wet the stain pad on both sides and make sure to squeeze out the excess back into the stain can. Keep several clean rags available to smooth out runs and spots where you over applied the stain. Apply the stain in the direction of the grain pattern and keep a consistent pace across the entire door. Most doors look great with one coat, but some need two. Remember, the more stain you apply, the darker it gets, so be sure to know this before you go crazy with applying more stain to uneven areas. Now that you’ve stained the door, it’s time for the finishing touches.
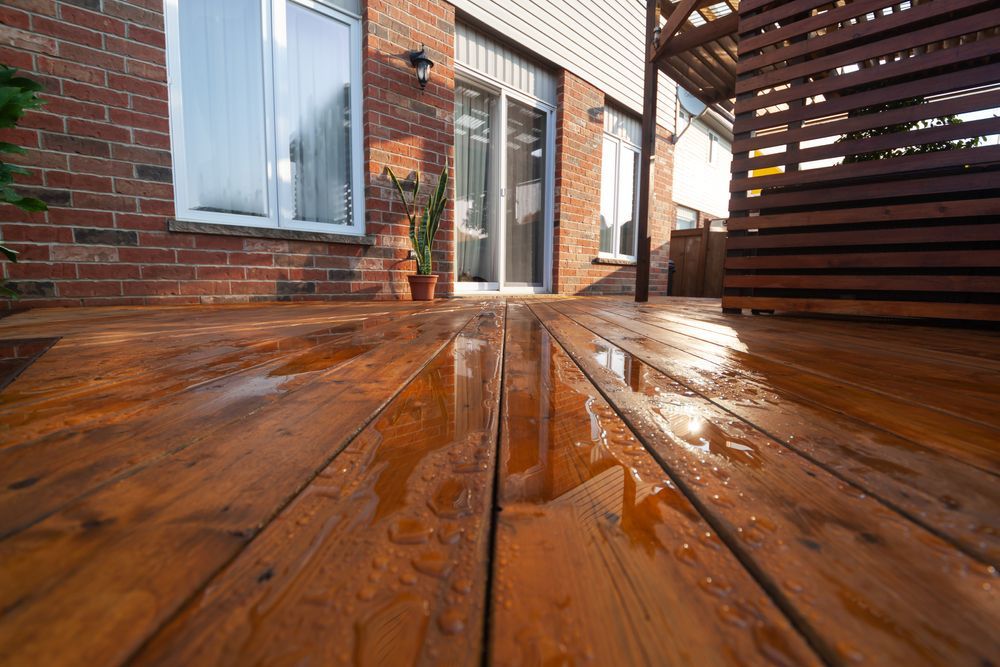
Three, Two, One, Clear!
Clear coating (or “finishing”) is an essential part of the process. It brings out the color of the stain, making it look rich and vibrant. Finish can be applied by hand (with a brush this time) or it can be sprayed on. Spraying the clear coat on will always be our preferred method, but we understand that not everybody has access to a compressor and a good spray gun. There are many exterior wood finishes out there that can do the trick, like Helmsman Spar Urethane but since we like to use the best products available, we use a water-based Melesi 2k Polyurethane that makes a wood surface look like a brand new Ferrari. Here at Blue Nile, we have a proprietary finishing method that we cannot disclose here, but it can be mentioned that more than one coat of finish is recommended. If you are brushing the finish on, there is a high likelihood that the coating will look white and soapy when applied. That’s totally fine. Brush it on like you would any regular paint, without smoothing it out to the point where you thin the coat, and let it dry completely before applying a new coat.
And That’ll Do The Trick!
I’ve hope you’ve enjoyed this little four step guide on how to refinish you wooden door & entranceway. Refinishing wood is a seemingly straightforward process that, as mentioned earlier, has many subtleties to it. This is not meant to discourage you from refinishing your door yourself of course. Anything can be done! If you follow this roadmap you will already have a good head start and enough knowledge to at-least take a go at it. But as a woodworker of over a decade, I will always suggest reaching out to a pro to do the job for you. Give Ethan a call today at (864) 901-0640 for all your door refinishing needs!